Move WordPress blog posts with featured images
Over the years I have been asked to move WordPress blog posts many times. The most frequent need for blog post migration is during the development of a new site where the client needs to keep all blog posts, but has no need for other things from the old site. Instead of migrating the entire live site database, it is much cleaner to ONLY move the blog posts so all the other extraneous database stuff (pages, plugin data, other meta data) doesn’t clutter the new site’s database.
The simplest way to migrate blog posts is to use the built-in WordPress export/import functionality. It works very smoothly and is simple to do. The problem is, when you export ONLY posts, or anything less than “All Content”, the featured images are not included with the export.
For sites with a small number of blog posts you could always manually add the featured images, but that is tedious. Plus, for sites with a significant number of blog posts, this can prove to be a very large task. So, here is a quick and easy way to migrate blog posts while keeping featured images in place.
Exporting the Blog Posts with Featured Images
1. Install the following plugin on the site you will be exporting the blog posts from and activate it:
https://wordpress.org/plugins/export-media-with-selected-content/
2. Go to ‘Tools -> Export’ and select ‘Posts’ and check the ‘Export Media with Selected Content’ as pictured below:
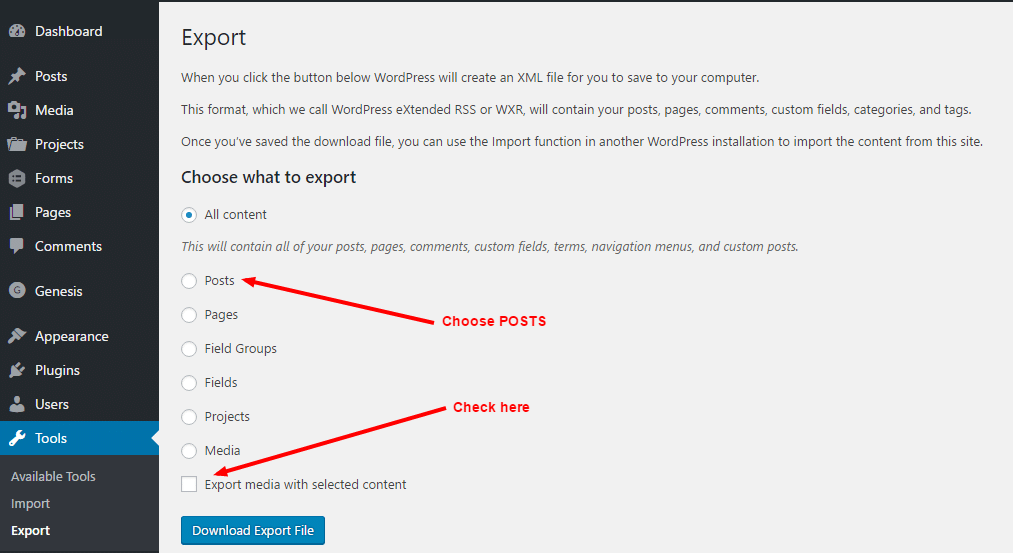
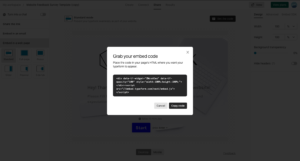
3. Click the ‘Download Export File’ and save it to your desktop.
Sponsored ads:
Importing the Blog Posts with Featured Images
- Go to the new WordPress installation that you’d like to move the blog posts to and go to Tools -> Import.
- Choose WordPress and install/activate the WordPress Importer plugin.
- Import the file you saved to your desktop in step three and you’re all set!
With the help of this simple plugin you can easily migrate blog posts while keeping the featured images in place. Here are a few tips to keep in mind:
- If you have a large number of blog posts it is good to export them in batches to avoid timeouts. I suggest doing them in 3 or 6 month batches. You can do this by changing the date range during the export process and then importing the files one by one on the new site.
- Be sure to properly assign/import the post authors when importing. This will ensure all authors for your posts remain consistent with your previous site.
- Make sure to move any images that are within the content of the post to your new site via FTP and ensure the URL to that image is correct. You can move the entire wp-content/uploads folder to ensure all images stay in place, but I prefer not to do this so the new site is as clean as possible.
Hopefully this simple tutorial can help you save some time on your next migration. If you have any questions or tips, leave them in the comments below!
Sponsored ads:
If you Found this article interesting or Need help, please comment below…
Cheers! Ludovic
Credits
You might be interested in hiding Google ReCaptcha badge on your website. Here is a guide on how to do it right.