Here is what happens when you try to embed your form on your website using elementor
After you create your new form on Typeform, you are given the choice to share it.
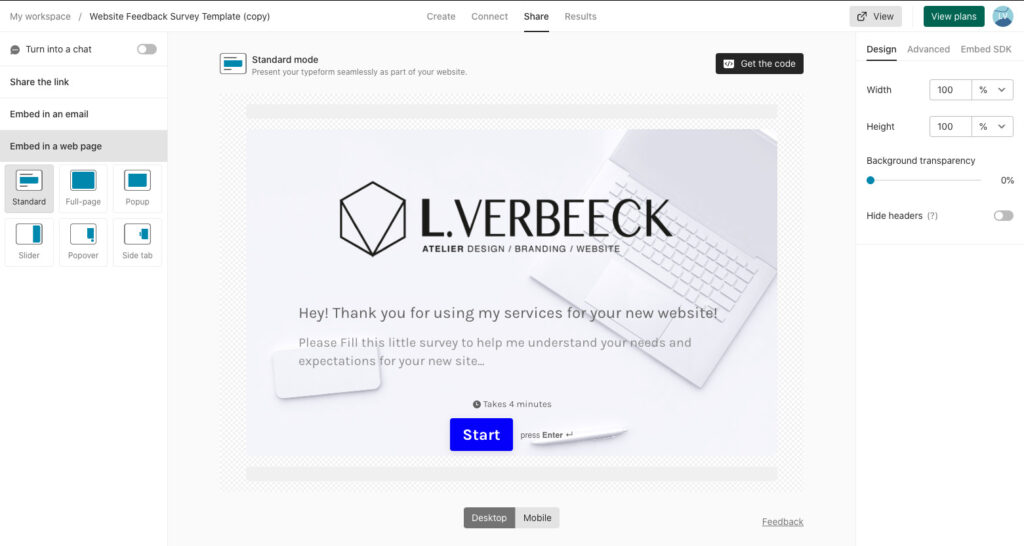
1. Head to left panel and hit the ’embed in a website’ tab.
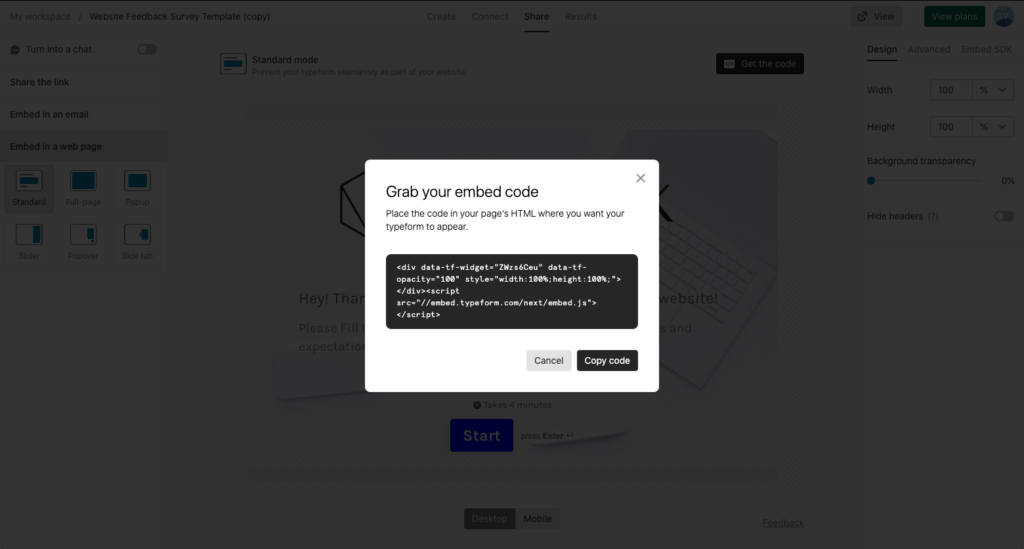
2. Copy the embed code and paste it on your elementor page with the HTML widget:
<div data-tf-widget="ZWzs6Ceu" data-tf-opacity="100" style="width:100%;height:100%;"></div><script src="//embed.typeform.com/next/embed.js"></script>
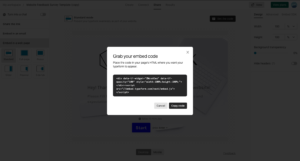
But here what happens when you paste the provided code in an html widget:
You would think thats enough, however on some hosting providers such as Cloudways, you would nothing but an empty space (I’ve outlined the widget so you can actually see something)
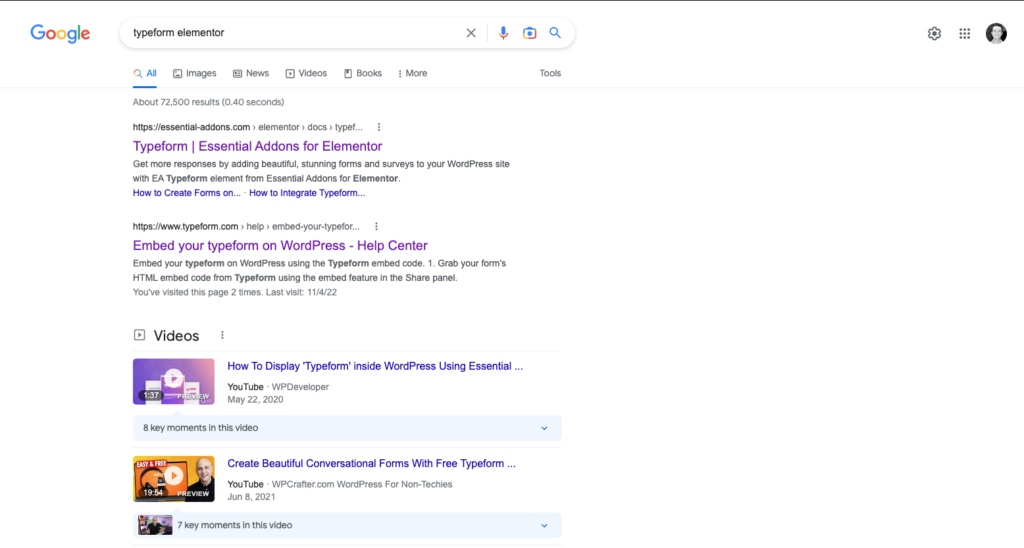
you would end up looking for a plugin to do that correctly. And you may be right – it may be the easiest solution for your case.
However the only plugins available at the moment is either the official plugin “Typeform” available here
or
A quick google search will tell you that “Essential Addons” has a feature to embed Typeform.
(available here)
If you are already using Essential Addons, then you are in luck! Just go ahead and follow their documentation. You will be sorted in no time!
But for those like me who already use their favorite Elementor “Addon” Plugin. Having to install another one just to embed a form is an issue: bloating the website with unnecessary addition plugins.
3. So here is the solution that requires no plugin at all.
Add an HTML widget as specified in point 2…
However, instead of copying the embed code provided by Typeform, use this one and replace the form URL and ID:
<div style="width: 100%; height: 500px; color: #ffffff; font-size: 20; border-radius: 100; popup-type: button;" data-tf-widget="xxxxxxxx" data-tf-opacity="100" data-tf-button-color="#0445AF" data-tf-button-text="Launch me" data-tf-medium="embed-wordpress"></div>
<script src="//embed.typeform.com/next/embed.js"></script>
Here is the result:
Sponsored ads:
Et Voila!
Here is how you get the correct URL and ID:
1. Click on ‘View’ button on the top right of the screen.
2. Copy the URL from the address bar field (keep only the part before ‘?’ mark:

3. Paste it over the example address showed in the HTML widget called ‘url’ (keep it between the ” ” symbols)
4. The ID is just the last part 8 character line after the ‘/’ symbol.
Just paste it back in the ‘formId’ field and ‘data-tf-widget’ field (keep it between the ” ” symbols)
Hopefully this simple tutorial can help you save some time on your next typeform integration. If you have any questions or tips, leave them in the comments below!
Sponsored ads:
If you Found this article interesting or Need help, please comment below…
Cheers! Ludovic
Credits
You might be interested in hiding Google ReCaptcha badge on your website. Here is a guide on how to do it right.